Thursday, October 31, 2013

Halloween Week @ ULTA ...DOLL DAY!

So we meet again! muahaha.
Okay after my creepy into, Lol
So Tuesday Oct. 29th Was Doll Day @ ULTA!
This was thee easier look I did throughout the week!
After watching a bunch of YT Videos, I really liked what
Promise Phan did. She did like a voodoo doll!
So I decided i'd do that with a couple of tweaks.


This Look was definitely thee easiest out of the week!
Basically your Liquid and Pencil liners will be your best friends when trying to achieve this look!
All you will need is products for your complexion, a dark shadow, and liners!

PRODUCTS USED:


Starting off with complexion of course!
Pur Minerals Primer, Clinique Pore Refine Foundation sample, and Rimmels Stay Matte Powder

So Like my other looks I began with the Pur Minerals Primer. But because I wanted to have super even skin, I decided to use Cliniques Pore refining solutions foundation in the shade Golden Neutral. This not only concealed my pores but kept me matte! Then to set it I used a much lighter powder from Rimmel!


Then I filled in my Brows using my everyday brow essentials. I just went a little heavier and gave my brows a strong arch!


For my eyes I began with Smashbox' Waterproof Shadow Liner pencil in the shade Luminous Fig.
Then I went over all that with the dark brown shade from my limited edition Tarte Palette.

To achieve Doll Like eyes I used a White Eye liner on my water line and lower lash line, I went pretty thick on the lower lash line, and then put a black liner right under that to achieve a new fake lash line. Then I applied Mascara but only to my Top lashes, I used some liner to create some fake lower lashes.


Then I used my liquid liner to create cracks or stitch like lines under my eyes.
and I created the stitching on my mouth.
and Lastly I used my eyeliner pencil to create the stitches on my forehead, and 
WAAAHLAHHH.
Now wasn't that sooo easy.


So thats all it takes to become a creepy voodoo stitched up doll Lol
Also here is a pic of thee halloween nails I did this month.
Hope you enjoy!!

Well dolls I hope you enjoyed this! if you have any questions leave a comment below or tweet me! and if you recreate this look please send me pics on twitter or tag me on IG.
and of course HAPPY HALLOWEEN!
What are you dressing up as??

Thanks for stopping by! 
Remember..
NO matter what you crave for, always take a bite into your dreams!
XOXO yaya.

CONNECT WITH ME!
Twitter: @yayaDollMUA
IG: @yayaDollMUA
BeautyLish: @yayaDollMUA


Wednesday, October 30, 2013

Halloween Week @ ULTA.. DAY OF THE DEAD DAY!

Hey dolls! So Monday October 28th was Day of the DEAD day!
and of course everyone came decked out with their SUGAR SKULLS!
I was most excited about this because I have never done a sugar skull before.
CRAZY I know....
So I did a lot of research because I had to know what certain shapes are common and things like that!
I decided that i didn't want to do my whole face, cuz ain't nobody got time for that lol!
Honestly I wasn't sure how good I was gonna be at it, So I played it safe with just one side!
(Red Text= Sugar Skull, Black= Regular)

So i got this idea off of YT and decided to give it my best shot!
Lets just get into the products i used and I'll have more pics below!!

PRODUCTS USED:

So Lets begin with complexion!..

For the left side (Sugar Skull Side) of my face I used..
Pur Minerals Primer, NYX jumbo pencil MILK, White cream makeup,
Kryolan Translucent powder

I really Liked the Pur Primer for looks like this because it doesn't leave any greasy feel on my face! I started out with some White cream makeup that i picked up from Walmart, but It was such a hassle to have to do layers. So I did a little and then just went over it with NYX' Jumbo pencil in MILK. I set that with a Translucent powder that is really white.
For the other side of my face I used the same primer, Clinique Stay Matte Foundation in Vanilla, Tarte Maracuja concealer in Light Med, and set it with NYX Mineral Powder.


Then I started on my eye area for the sugar skull, i didn't want to do all black, so I chose some eye shadows to make it POP! and I began with my eye liner pencil and just did an outline around my eye, using my eyebrow as a guide!
Then i filled it in with the shadows and set the outline with Black cream makeup, and a small brush!
Make sure you set things like your nose with a black eye shadow to keep there longer!
I used Milk as a base, then used that first shade all over, I then took that light pink on the right towards the inner eye, and that dark purple in the middle on the outer area of my eye to give more dimension!

Then I used a Black shadow with a triangle sponge shadow applicator and created the petals around the circle!
All the Shadows I used for the Sugar Skull Came from my
Coastal Scents 120 Eyeshadow Palette!

For the other side of my face I used my It cosmetics Brow Power Pencil.
and Then I used my limited Edition Tarte Shadow Palette. I used the 3rd shadow
in the 2nd row all over the lid, then the one above that in my crease, and then the 3rd shadow in first row for a brow highlight!


Then I winged out my eyeliner and tight lined, and I put on some mascara!
I also winged out my liner for the sugar skull too, and tight lined!

Okay so back to my sugar skull! I then used my liquid liner and my black cream makeup to start designing my face! I used my liner for the line down the middle of my face, and to do my web. I found that if you do quick easy strokes it comes out a lot neater!
I also used the liner for the lines over my mouth because i wanted them to be more precise.
For the designs on the side of my face i used my black cream makeup and a thin liner brush.
and I used it to cover the tip of my nose!


So back to my other side I contoured my cheeks using my ELF cool bronzer quad,
and the used the lighter brown shade to warm up around my temple and jaw line. Then I used Benefits Rockateur Blush on my cheek bones, and I highlighted first with my Chella Ivory Lace highlighter, and then again with Laura Gellers highlighter in French Vanilla.
ELF Cool Bronze Quad, Benefit Rockateur Blush, Laura Geller Highlight


So then to finish off my sugar skull I decided to add some rhinestones around my flower, to make it pop even more! I used eyelash glue and just popped it in 8 different place, and then using tweezers I put the stone on top of the glue. Make sure if you do this you wait a couple seconds so the glue gets tacky, it will stay on way faster!

For the other side I used a Black Lip liner from NYX and the topped it off with a dark burgundy lipstick!


So that is it! I hope you guys enjoyed this and found it helpful! 
If you have any questions leave me a comment down below or tweet me!
Also don't forget if you recreate this send me pics on twitter or tag me on IG!

Thanks for stopping by Dolls!
Remember..
NO Matter what you Crave for, Always Take a bite into your DREAMS!
XOXO yaya

CONNECT WITH ME!
Twitter: @yayaDollMUA
IG: @yayaDollMUA


Monday, October 28, 2013

Halloween Week @ ULTA....Character Day!

Hey Guys & Dolls!!!
So this week is Halloween Week at Work!!!
For those of you who do not know I am a Clinique Consultant at 
ULTA BEAUTY!
Halloween Week began on Saturday October 26th!
and it began with Character Day!
Can I just say that it took me ridiculously long to figure out what I was going to do!
But after a lot of doodling and brainstorming, I decided..(while watching the little mermaid!)
To do a wearable version of URSULA!
So I didnt get the chance to film this or do any type of pictorial, but
i thought that it would be fun to share some pics, and the products i used!
So first lets begin with thee photo i was trying to go off of.

Okay so remember guys this is my version!
You can recreate this anyway you like!
I didnt want to paint my face white so i chose purple to be the color
i was goin to go off of for my complexion!
So Lets get into the products used!

PRODUCTS USED:
Pur Minerals Complexion Primer, Clinique Stay Matte Foundation in Shade
Golden Neurtal, and NYX Mineral Powder in Light/MED
Alright so I began with complexion! I decided to prime my face, and use a foundation shade a little bit lighter than my own, I also set it with a powder that was quite light too.
The foundation is just a sample i picked up from my counter!

NYX Jumbo MILK, Bella Pierre EXITE, NYX Hollywood


Okay so I then began with eyes, I started with Milk all over the eye area, and then used
EXITE all over the lid, and Hollywood on my brow bone.

NYX Liner in Purple, Elfs shmmer liner, Jordana Liquid liner in always blue, and NYX glam liner in
Glam Purple!

So then i used these liners to help me with a guide on where i wanted to place the intense blue and purple shades!

Then I took Freeze right on the outer V area, and I lightly placed HA HA
on top as a light transition shade!


I used IT Cosmetics universal brow power for my brows, and i just flicked it up 
for the intense arch.


For my contour I used a blend of these purple shades! 
and then I highlighted with NYX Roller shimmer!


Then I used ELF Matte Lip color in Rich Red, and NYX liner in Hot Red,
for those intense RED lips.


I used a blend of these products to decorate around my face!


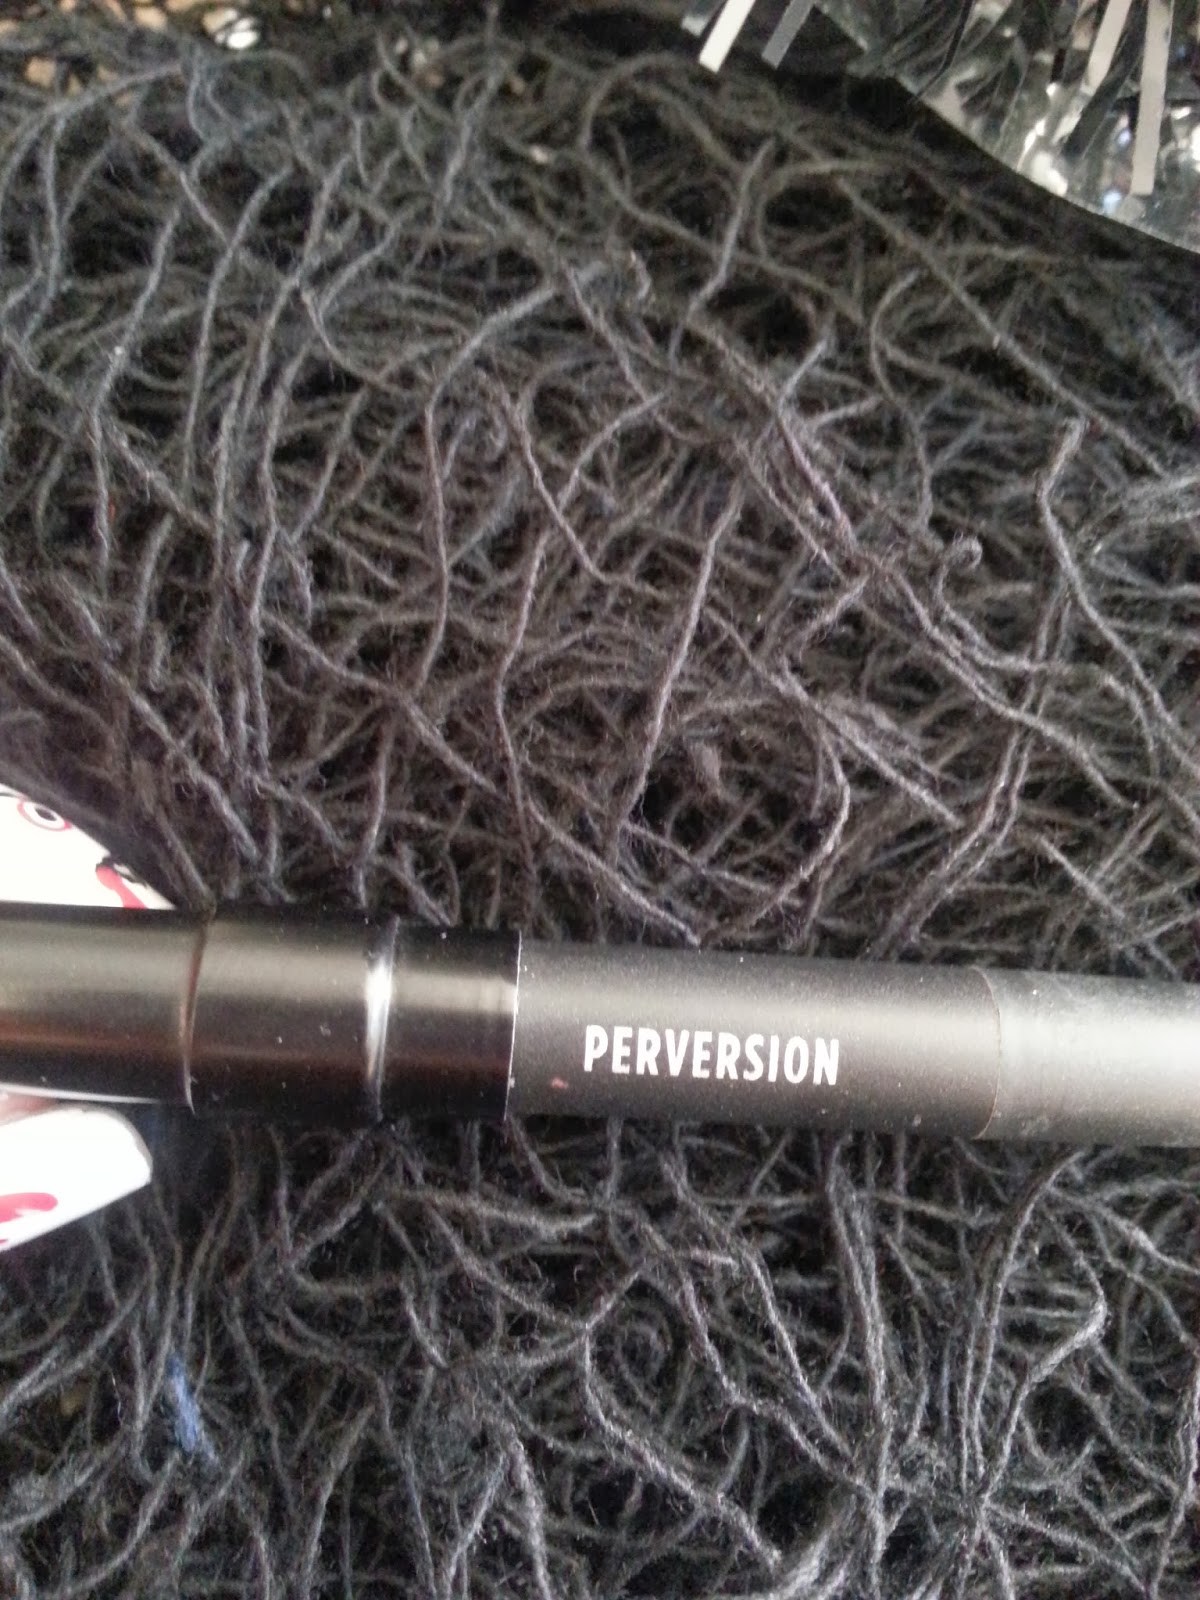
So I also used ELF Liquid liner, and UD perversion to 
Line and Tight line!!

So that just about it! I really enjoyed doing this look! it was alot of fun, and pretty easy.
If you have any questions, leave a comment below or tweet me!
Also if you recreate this look, send me pics on twitter or tag me on IG!

Thanks guys I hope you enjoyed this!
Remember..
NO Matter What your crave is for, always take a bite into your dreams!
XOXO yaya!!

CONNECT WITH ME:
Twitter: @yayaDollMUA
IG: @yayaDollMUA


Related Posts Plugin for WordPress, Blogger...